环境说明:
系统:Ubuntu Server 16.04.1 LTS 64位
Python版本:Python 3.5.2
TensorFlow版本:1.4
用户切换(最好启用root否则会有Bug)
1
2
3
4
| # 输入Linux root用户密码
sudo passwd root
# 默认用户切换到root用户
su root
|
安装python环境
1
2
3
4
5
| # 不用默认的2.7 安装python3.5
sudo apt-get install python3.5
# 系统环境切换成python3.5
sudo update-alternatives --install /usr/bin/python python /usr/bin/python2 100
sudo update-alternatives --install /usr/bin/python python /usr/bin/python3 150
|
安装TensorFlow
1
2
3
4
5
6
7
8
| # 采用pip安装,首先安装
# 查看系统内置的pip版本
pip3 -V
# 更新并安装
sudo apt-get install python3-pip python3-dev
sudo pip install --upgrade pip
# 安装CPU版本的TensorFlow
pip3 install tensorflow
|
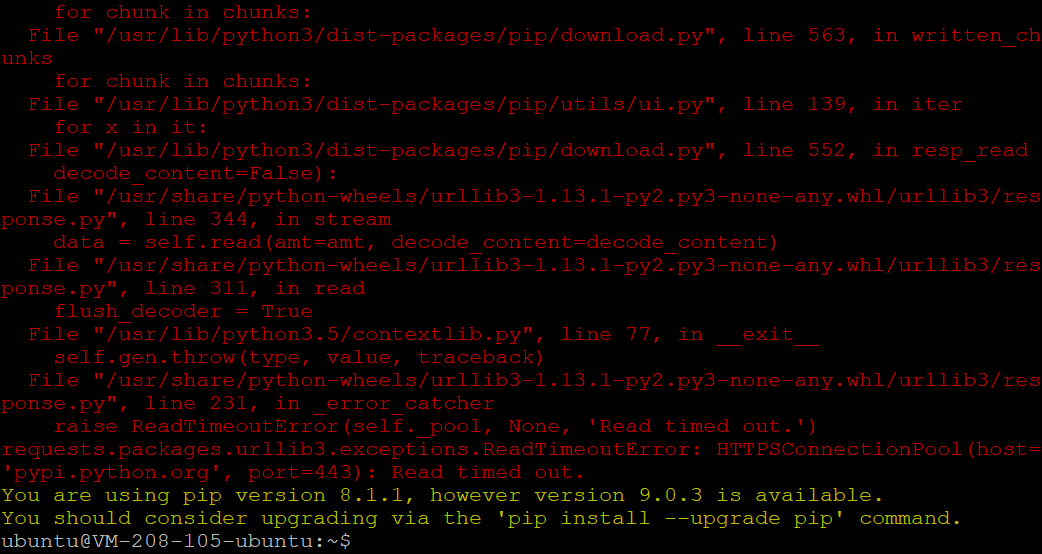
注意要保证pip是最新版本否则会出现以下错误:

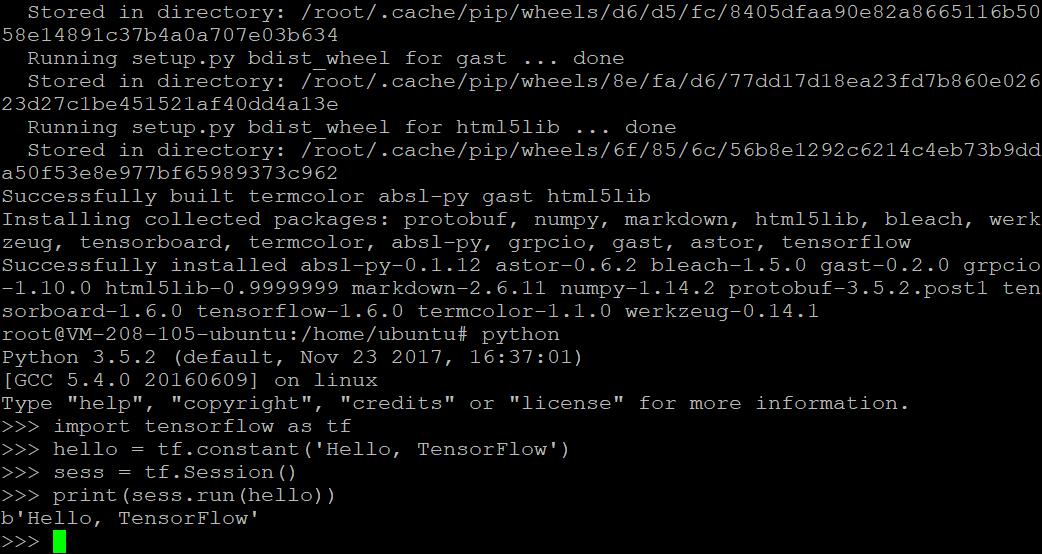
测试TensorFlow
1
2
3
4
5
6
| python
>>> import tensorflow as tf
>>> hello = tf.constant('Hello, TensorFlow')
>>> sess = tf.Session()
>>> print(sess.run(hello))
|

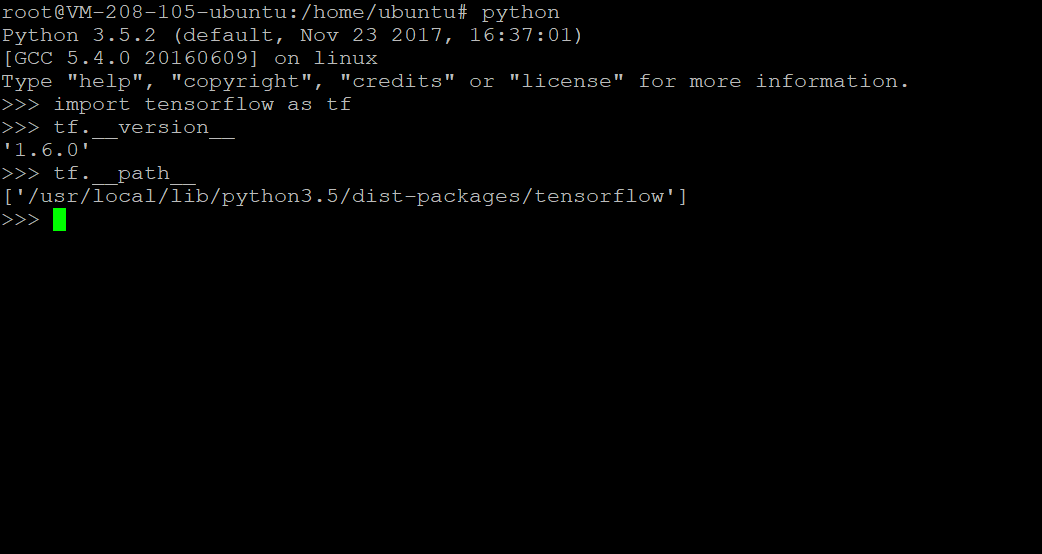
查看TensorFlow版本

备用知识点(Note)
1
2
3
4
5
| 1. vim -r filename 恢复未正常保存生成的.swap文件
2. (Note)
convolutional neural network 卷积神经网络
rectified linear unit 线性修正单元 ReLU
input layer --> hidden layer(more than one) --> output layer
|
环境准备
1
2
3
4
5
6
7
8
9
10
11
12
13
| pip3 install -U scikit-learn
pip3 install scipy
# 下载 MNIST 数据集(http://wiki.jikexueyuan.com/project/tensorflow-zh/tutorials/mnist_download.html)
wget http://tensorflow-1253902462.cosgz.myqcloud.com/mnist_cnn/t10k-images-idx3-ubyte.gz
wget http://tensorflow-1253902462.cosgz.myqcloud.com/mnist_cnn/t10k-labels-idx1-ubyte.gz
wget http://tensorflow-1253902462.cosgz.myqcloud.com/mnist_cnn/train-images-idx3-ubyte.gz
wget http://tensorflow-1253902462.cosgz.myqcloud.com/mnist_cnn/train-labels-idx1-ubyte.gz
pip3 install \
-i https://pypi.tuna.tsinghua.edu.cn/simple/ \
https://mirrors.tuna.tsinghua.edu.cn/tensorflow/linux/cpu/tensorflow-1.7.0-cp35-cp35m-linux_x86_64.whl
|
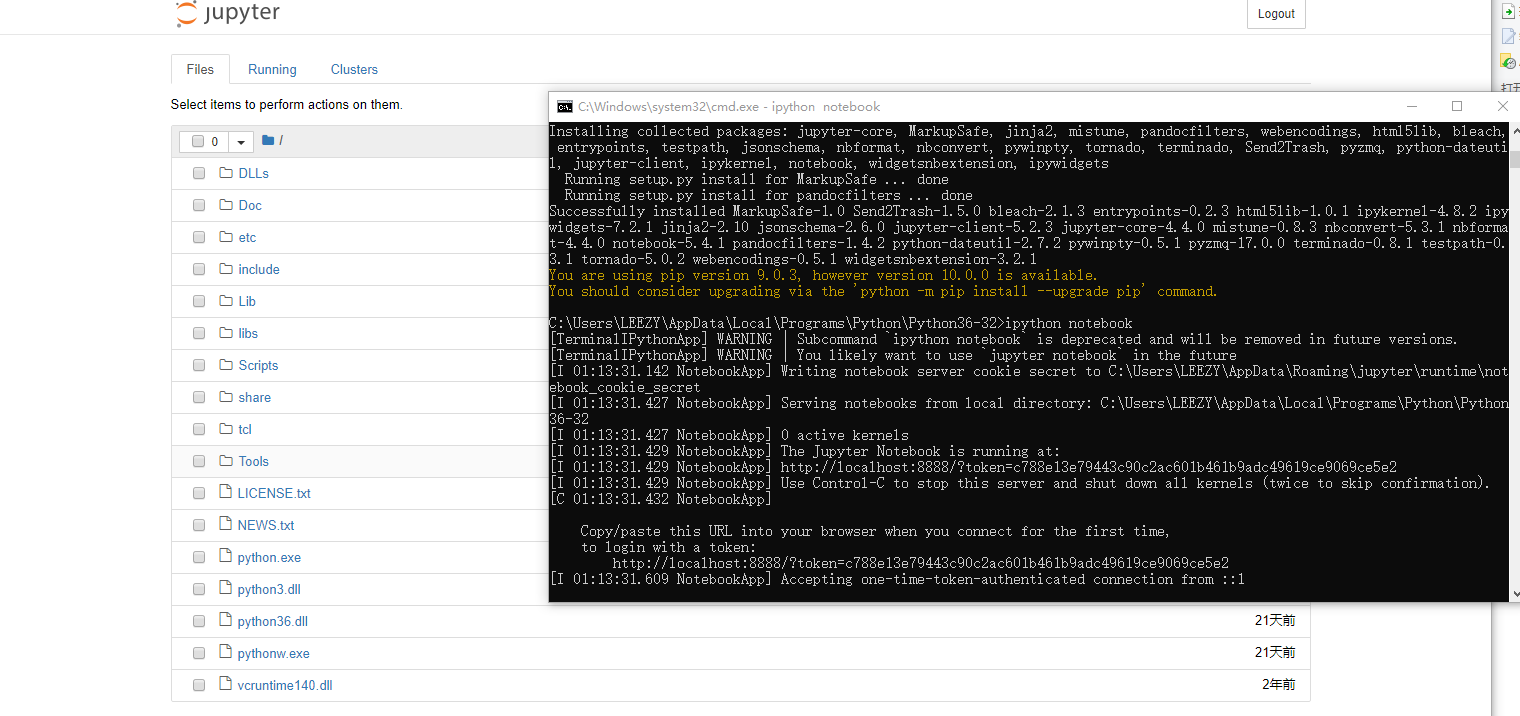
Windows环境下.ipynb文件相关(python笔记)
1
2
3
4
5
6
7
| # 安装python环境不必多说
pip install ipython
pip install "ipython[notebook]"
# cd 到有.ipynb文件的目录下执行下列命令就会自动打开浏览器点击文件即可打开文件
ipython notebook
|


